
Moving From Spreadsheet-Based Translations to Transifex
- What's So Bad About Spreadsheets?
- How to Get Started on Transifex
- 1. Export Excel Strings to Plain Text
- 2. Create a New Transifex Project
- 3. Upload Your Translations
- 3. Add Translators and Coordinators
- 4. Start Translating
- Other Transifex Features
- Translation Memory
- The Transifex Client
- Crowdsourcing
- Video Subtitles
- It’s Time to Move On
For years, spreadsheets have been the go-to solution for managing localization projects. While they may work for simpler projects, scaling a spreadsheet to fit a large, distributed project can quickly become a nightmare. Shifting from a spreadsheet-based translation process to Transifex isn’t as difficult as you might think, and we’re certain it will simplify your localization process.
What’s So Bad About Spreadsheets?
Spreadsheets are a static solution to a dynamic problem. Localization is a constantly changing process that spans multiple parties, uses historical and contextual information, and relies on constant back-and-forth communication. While this can be accomplished using spreadsheets and email, things can quickly get out of hand. A developer could accidentally forget to update his or her project with the latest translations, or a translator working on a copy of the spreadsheet could send the wrong version by mistake. The team localizing also has to maintain a set of policies for organizing, modifying, and marking text based on where it is in the localization process. The act of constantly updating, adding to, and reorganizing a spreadsheet can lead even the best plans astray.
How to Get Started on Transifex
Making the leap from a spreadsheet to Transifex may seem daunting, but the initial effort will greatly reduce your future workload.
1. Export Excel Strings to Plain Text
The first step is to get your source strings into Transifex. (Transifex can import a variety of localization file formats, including Excel spreadsheet files and plain text.) With plain text files, Transifex treats each new line as a different string, which is ideal for spreadsheets where each string is stored in a separate row. To create a new source file, simply highlight the column that you want to copy and paste it in an empty text file. When creating a new source file, we need to be sure that the character encoding of our text file matches the encoding used in Excel. The best way to do this is to export the spreadsheet to text using UTF-8 encoding, then copy the translations to a new text file. Be sure to remove column headers and delimiters if necessary.
Repeat this process for each of your columns. Keep in mind that Transifex matches localized strings with their source strings based on the line number that they occupy. This means that all translations of “Hello” should appear on line 1, translations matching “Goodbye” should appear on line 2, and so on. We also recommend naming each text file after the name of the target locale (en_US.txt for English translations, es_ES.txt for Spanish translations, etc.).
Preserving Keys
If you need to preserve a key associated with each entry (for instance, if your developers use a key to identify each string in software), you’ll want to use a more structured file type such as Resx. Otherwise, Transifex generates a key based on the string provided in the source file.
2. Create a New Transifex Project
In Transifex, create a new File-based project using your source file. This will create a new project using the source file as the default language. Each line in the source file is treated as a separate string.
3. Upload Your Translations
To upload your translated text, click on the target language in your Transifex project. You should see your source file listed with 0% completion. Click on the name of the source file to open the Resource dialog:
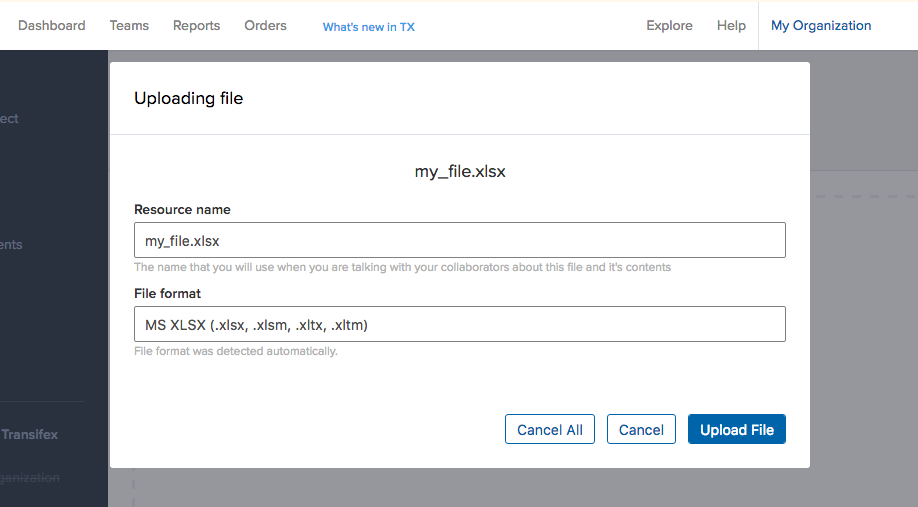
Click on Upload file. This opens the File Upload dialog where you can select your language file. In this case, we’ll upload es_ES.txt to populate the project with our Spanish translations. Once the upload is complete, the en_US.txt resource file displays 100%. Reopen the Resource dialog, then click View Strings Online to verify the translated text.
Repeat this process for each language in your spreadsheet.
Preserving Metadata
One downside to this method is that it won’t copy over comments, notes, memos, or other metadata. While there are file formats that support metadata, converting between those formats involves additional steps and goes beyond the scope of this post. In the meantime, you can manually copy metadata by opening the target language in Transifex, navigating to the specific string, and selecting the appropriate tab underneath the translated text.
At this point, the contents of your Transifex project should mirror those of your spreadsheet. Next, we’ll show you how to share your project with translators and coordinators.
3. Add Translators and Coordinators
When creating your new project in Transifex, you also created a new team. At the moment, the team consists of a single user: you. You can add other users to your team by inviting them and assigning them a role.
First, we’ll add our translators. Open your project in Transifex and click the collaborator invite icon:
Select the user’s role, their assigned language, and enter the user’s email or username. Once the user receives your invitation, he or she will be able to contribute to the project. Repeat this process for any other users you would like to include in your project. You can always modify a user’s role after they’ve been added to the team. Find out how teams work in Transifex.
4. Start Translating
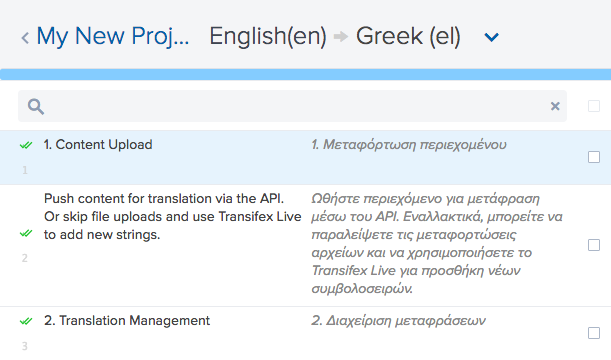
Once you’ve completed steps 1 – 3, you’re ready to drop your old spreadsheet-based translation for good. Any changes made to your Transifex project are automatically saved and shared across the team. You can update your source file by navigating to the file in Transifex and clicking the Update content button.
Other Transifex Features
In addition to translation and collaboration, Transifex provides a host of features designed to ease the localization process. While none of these are required for using Transifex, they do make it easier to manage translations across your team.
Translation Memory
Translation Memory (TM) provides automatic translation suggestions for similar source strings. Not only does it let your translators leverage previous translations, but it also lets you reuse translations across your projects. Each Transifex project comes with its own separate TM instance. Organization administrators can share a single TM instance across multiple projects by creating a TM group and adding each project to the group. TM can also automatically populate translations for source strings that have a 100% match. For more information, see the Translation Memory documentation.
The Transifex Client
The Transifex Client is a command line tool for managing translation files within a project. It lets you easily synchronize and share text between the Transifex website and a directory on your local machine. For instance, you can use the Transifex Client to automatically update a software project with the latest localizations. You can also use the Transifex Client to export your localized strings to different file types such as JSON, XML, or gettext. This way, you can convert from simple plain text files to more compatible formats.
The Transifex Client integrates easily with file-sharing tools such as Dropbox and Google Drive, continuous integration tools such as Jenkins and Bamboo, and even code repositories such as BitBucket and Git.
Crowdsourcing
Public or community-driven projects can benefit from crowdsourcing, which brings the community into the localization process. It’s a way for companies to not only engage with users but also source translations for larger projects. The process isn’t entirely community-driven as users still need to be manually approved by a coordinator. However, organizations can use Transifex to crowdsource translations for free.
Video Subtitles
If your project contains video, Transifex’s Video Subtitle Editor lets you view and edit subtitles directly in your browser. Transifex stores each subtitle as a separate string and synchronizes it using the timecodes provided. A built-in video player loads the video from an external URL and displays the localized subtitles during playback. For more information, visit the Translating Subtitles page in the Transifex Documentation.
It’s Time to Move On
Spreadsheet-based translations might have worked in the past, but it’s time to move on to a better solution. Transifex turns a slow, difficult, and error-prone process into a fast, flexible, real-time solution. Please let us know if you need help dropping your spreadsheet in favor of a more flexible localization solution.

